Olympic Logo Tutorial
In class we had to make a version of a popular logo. I decided to do the Olympic Rings! I thought it was super cool and needed to share it with you.
Click the ellipse tool (or L) and hold down shift.
 Click the scale tool (or S), then push enter. This is going to pop up a box (in the picture to the right). Type 75% into the uniform box (it shows 100% in the picture). Press copy.
 Command (or Control on Windows) A, which selects everything. Go to Pathfinder and minus front.
 To get the right colors, download a picture of the rings. In the picture I just stretched it out by using the corner scale. Alway use the scale tool or hold shift. I'll end up deleting it so it didn't matter too much.
 Use the Direct Selection Tool to change the color of some parts of the ring.

1:
Set your stoke to none and fill to blue.2:
Click the ellipse tool (or L) and hold down shift.
3:
 Click the scale tool (or S), then push enter. This is going to pop up a box (in the picture to the right). Type 75% into the uniform box (it shows 100% in the picture). Press copy.
 4:
 Command (or Control on Windows) A, which selects everything. Go to Pathfinder and minus front.
 5:
Select all of it, or V. Hold Alt and move it to the right. Command/ Control D to copy this movement. You should have three circles right now.
 6:
6:

Select two of them and move them down (more than the center of the piece) and to a side (so that they are near the center).
7:
To get the right colors, download a picture of the rings. In the picture I just stretched it out by using the corner scale. Alway use the scale tool or hold shift. I'll end up deleting it so it didn't matter too much. 8:
Using the Eyedropper Tool (I), I changed the color. Make sure the circle you want to change is selected.


9:
Make sure it is all selected before you click Pathfinder- Divid. If you are having trouble, make sure it is not grouped (Object- Ungroup).
10:
 Use the Direct Selection Tool to change the color of some parts of the ring.
 11:
Pathfinder-Merge
12:
Change stoke to merge. Change the weight to 4.
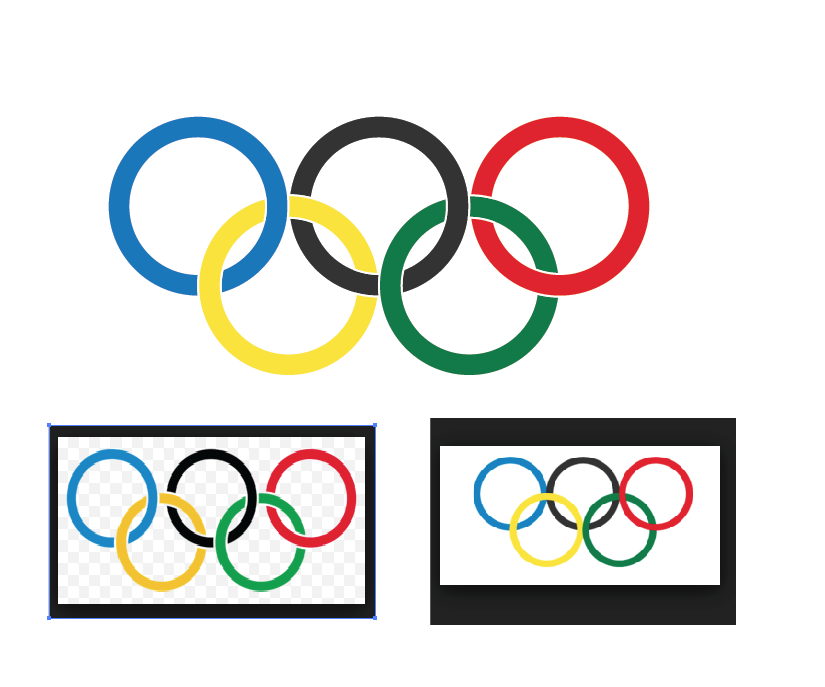
Wow! Your done! Here are some comparisons. I changed my picture in the middle of the project so it is a mix of both. Pick one picture and stay with it- it will make a difference.
For more help, look at this YouTube video.
For more help, look at this YouTube video.


Comments
Post a Comment